
For many, the charm of scrapbooking lies in its ability to capture moments and memories in a tangible, creative, and personalized manner. A scrapbook album goes beyond the constraints of a typical photo album by incorporating a smorgasbord of textures, colors, and elements that tell a unique story. But where does one begin when seeking to create the perfect scrapbook album? By breaking down the process into manageable steps, this feat becomes not just achievable but thoroughly enjoyable.
Establishing your vision
Define the Purpose:
First and foremost, clarify the purpose of your scrapbook. Will it chronicle a specific event such as a wedding or trip, or will it capture a broader theme such as childhood memories or personal growth? Claiming a distinct theme or purpose for your album ensures cohesion throughout its pages.
Gather Inspiration:
Embark on a quest for inspiration. Immersing oneself in ideas from other scrapbookers can spark creativity. Online platforms like Pinterest can be a treasure trove. However, remember to make your scrapbook a reflection of your unique style rather than an imitation.
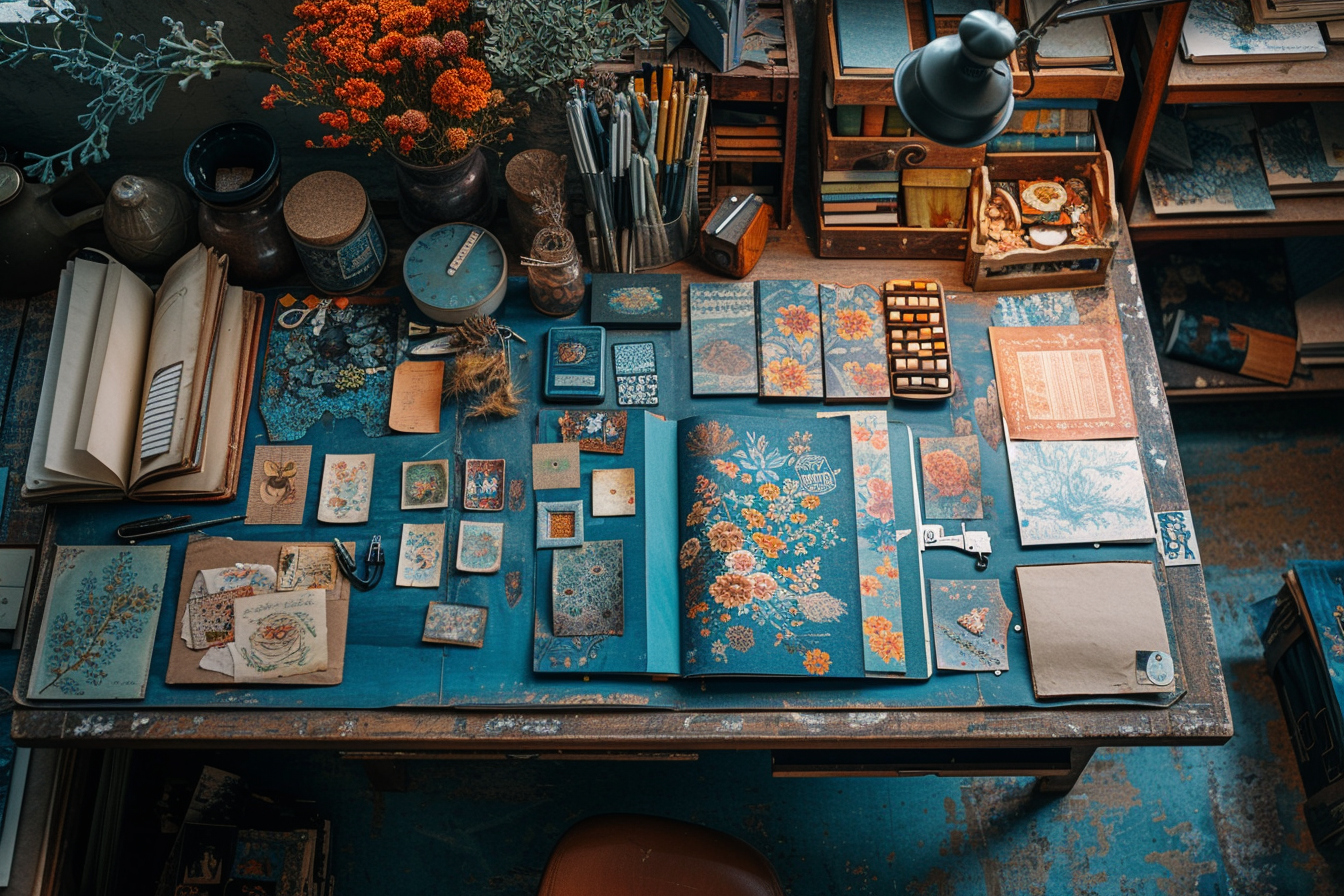
Preparing your toolkit
Essential Supplies:
Arm yourself with the scrapbooking essentials:
- An album
- Archival-quality paper to preserve memories without damage
- Adhesives of various types (double-sided tape, glue dots, photo corners)
- Cutting tools (scissors, craft knives, paper trimmers)
- Writing instruments (permanent pens, markers)
- Embellishments (stickers, stamps, ribbons)
Organize with Ease:
Organization can be the best tool in your arsenal. Sort and categorize all elements and tools in a manner that resonates with your workflow. Keeping items logically organized and easily accessible will make the process smoother.
Crafting your masterpiece
Selecting Photos:
The heart of any scrapbook is its photos. Choose pictures that evoke emotion or narrate a story. Don’t shy away from using imperfect images if they capture an authentic moment or emotion that contributes to the narrative of your album.
Creating a Cohesive Design:
Each page of your scrapbook is a blank canvas, but there should be a thread that ties them together. Select a color scheme or a pattern repetition that will provide a uniform backdrop for your story.
Layout and composition
Experiment with Layouts:
Before you adhere anything down, play around with layouts. Arrange and rearrange elements on a page until you find the most visually pleasing composition. Take snapshots with your phone to compare and decide on the best arrangement.
Balance and White Space:
In your layout, aim for a balance between photos, journaling, and embellishments. White space, or negative space, can serve as a visual pause point and is just as important as the decorated areas.
Telling your story
Journaling:
The written aspect of your scrapbook brings depth to the visuals. Whether it’s a brief caption or a heartfelt story, the words you choose will help convey the emotion and significance behind each page. Select pens that won’t bleed through paper and will stand the test of time.
Chronology or Thematic Grouping:
Decide whether your scrapbook will follow a chronological order or if it will be grouped by themes or events. This decision will guide the flow of your album from one page to the next.
Engaging with embellishments
The Art of Embellishment:
Embellishments are the accents that can turn a simple page into a work of art. With a judicious eye, select pieces that enhance the narrative without overwhelming the primary focus, which should remain your photographs and journaling.
Going 3D:
Dimensional elements such as buttons, fabric, or raised stickers add a tactile experience to your scrapbook. However, balance 3D embellishments with flat ones to avoid a cluttered look.
Customization:
Handmade embellishments or personalized accents bring a touch of authenticity and care to your album. Consider using crafting techniques like stamping, embossing, or the inclusion of memorabilia to imbue your scrapbook with character.
Creating continuity
Transitions Between Pages:
Think about how each page turns to the next. Use design elements or recurring motifs to create seamless transitions that maintain the narrative flow.
Focal Points:
Every page should have a focal point that instantly draws the eye. Usually, this is a key photo or an essential piece of journaling. Compose your page in a way that leads the viewer’s attention towards these points of interest.
Revisiting and refining
Review with Fresh Eyes:
It’s beneficial to occasionally step away from your project and come back with fresh eyes. You may notice adjustments to be made, or new ideas might come to light.
Editing:
Editing is just as important as creating. Don’t be afraid to remove or replace elements that don’t work. The goal is refinement and resonance, not an overloaded page.
Protection and preservation
Safeguarding Your Work:
Lastly, protect your pages with clear page protectors. This shields them from dust, fingerprints, and the effects of light, ensuring that your creation endures.
Final thoughts
Embrace the fact that scrapbooking is a process that can and should be tailored to your preferences and pace. Your perfect scrapbook album isn’t just about the destination – it’s about the journey of creating, remembering, and storytelling. As you delve into this immersive hobby, let each step guide you to create an album that is both meaningful and visually captivating, a legacy in the making that will be cherished for generations.
Leave a Reply